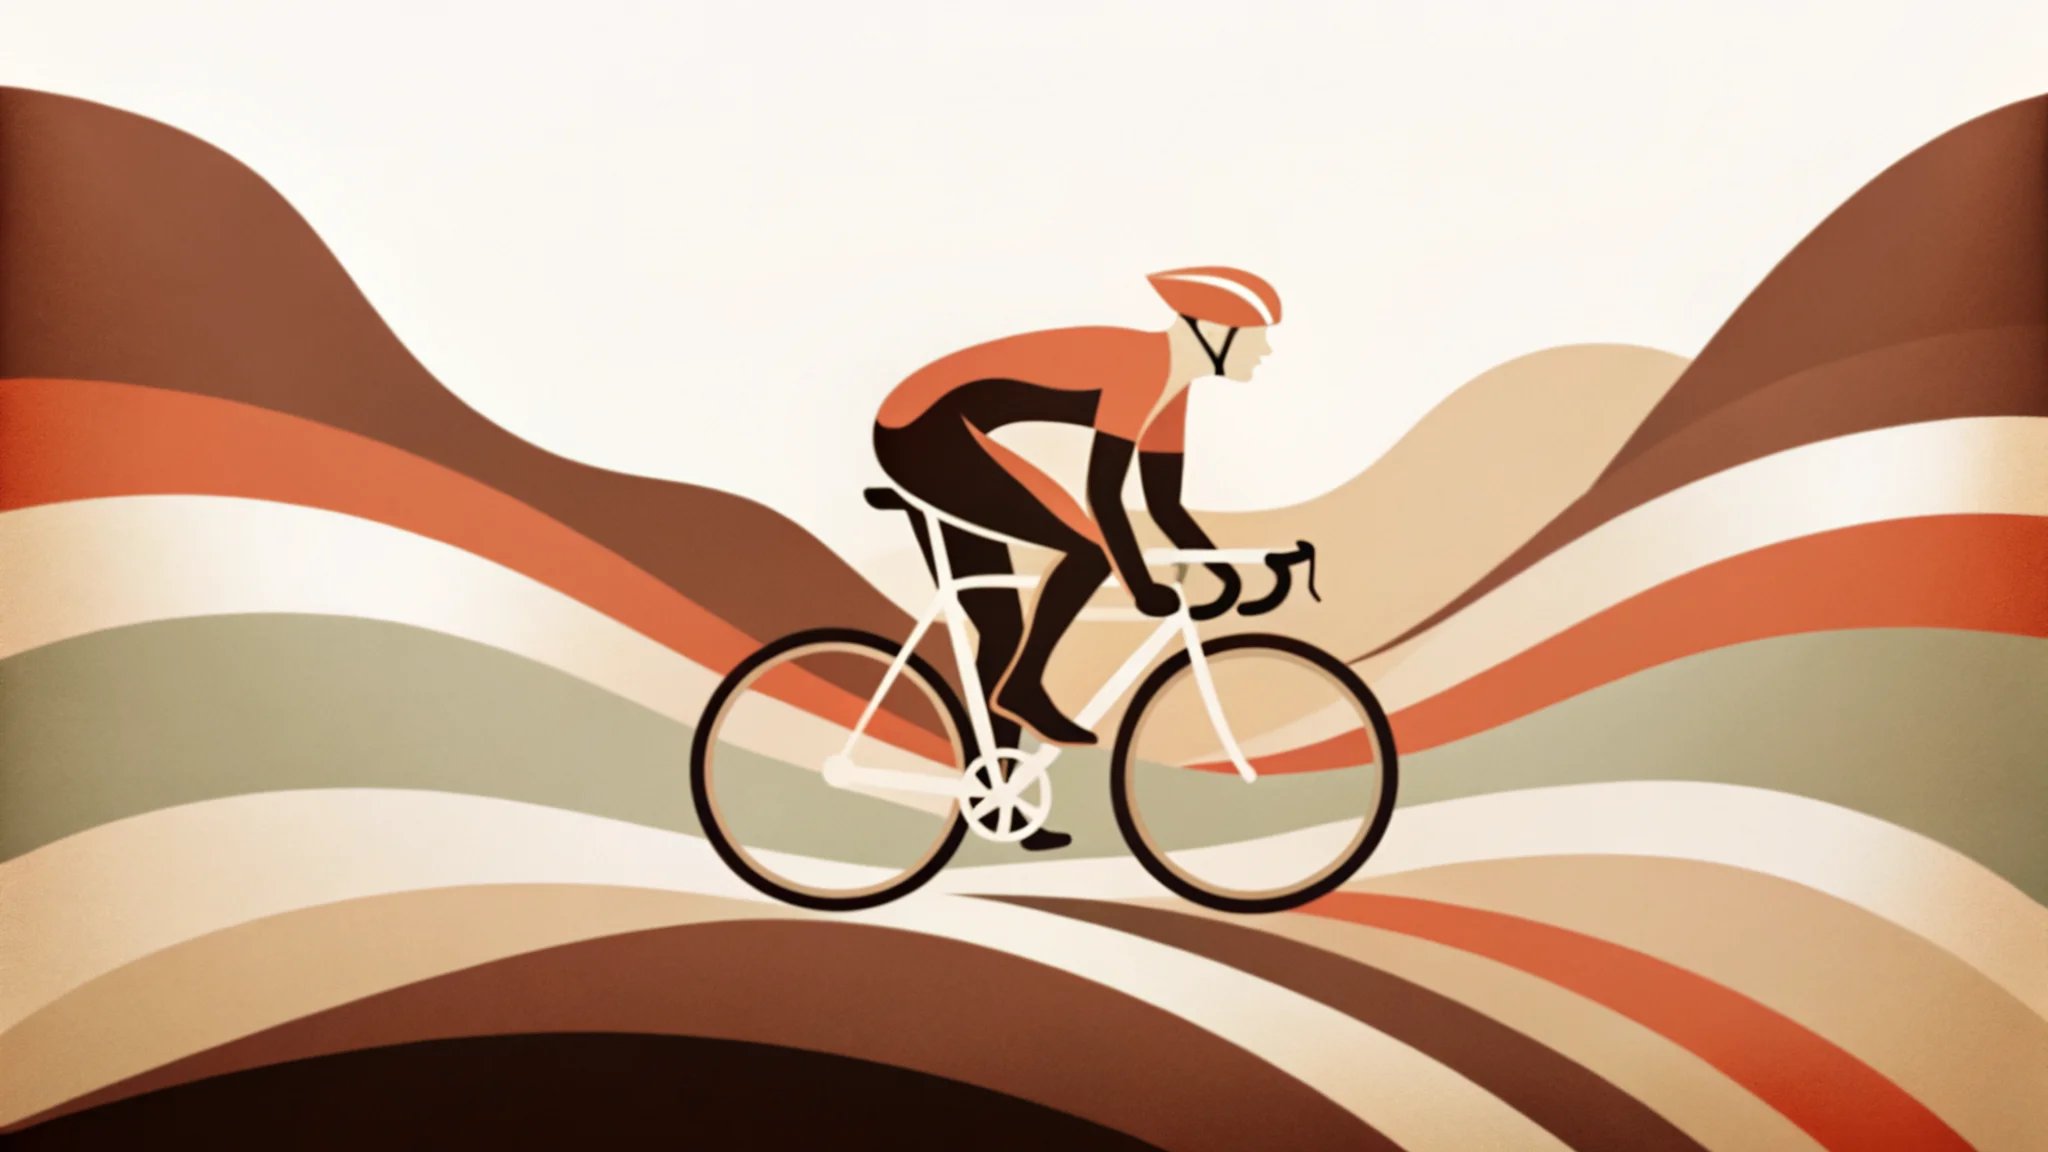
Ten years ago, the accepted tyre setup in professional cycling was 23 mm at 120 psi. Today, the same riders race on 28–30 mm tyres at 70–85 psi — wider, softer, and measurably faster on real roads. That shift wasn't a fashion trend. It was driven by research that overturned decades of conventional wisdom about how tyres actually interact with the road.
The implications go well beyond the pro peloton. The same physics applies to every rider, on every surface, at every level. Lower pressures, chosen well, make you faster, more comfortable, and better protected against punctures. But "lower" isn't a number — the right pressure depends on your weight, your tyres, the surface you ride on, and whether you're running tubes, tubeless, or TPU.
We built a free tyre pressure calculator that accounts for all of those variables. This article covers the science behind it — and the practical decisions that go alongside it.
The science: why softer is usually faster
For years the logic seemed airtight. A hard, narrow tyre deforms less against the road, so less energy is lost to the rubber flexing — a force called hysteresis. On a perfectly smooth surface, a velodrome or the steel drum in a testing lab, this is measurably true.
Roads aren't smooth.
Every crack, seam, and rough patch causes the bike to bounce. That bouncing is energy your body absorbs through your hands, arms, and saddle instead of putting into forward motion. Engineers call this suspension loss, and on any real-world surface it dominates the equation. A softer tyre absorbs bumps at the contact patch, keeping the bike tracking forward instead of bouncing upward. The energy saved from reduced suspension loss more than offsets the small increase in tyre deformation.
This is why wider tyres at lower pressures are genuinely faster on real roads — not just more comfortable, but measurably, reproducibly faster. The effect compounds as the surface roughens. A gravel tyre at 36 psi conforms to stones and ruts rather than skipping off them. A mountain bike tyre at 21 psi moulds around roots and rocks, maintaining traction where a hard tyre would slide.
The optimum pressure balances four forces that pull in different directions:
Rolling resistance. Tyre deformation costs energy, and higher pressure reduces it. This is the one force that favours a harder tyre — but it only dominates on very smooth surfaces.
Suspension loss. Road vibration costs more energy than tyre deformation on anything rougher than a velodrome. Lower pressure lets the tyre absorb the bumps instead of transmitting them through the frame to you.
Grip. A softer tyre conforms better to the surface, creating a larger effective contact patch. More grip in corners, under braking, and on wet or loose surfaces.
Comfort. Less pressure means less vibration through the handlebars and saddle. On a long ride, this is the difference between finishing fresh and finishing with numb hands and a sore back. Comfort isn't just a luxury — a rider who isn't fighting vibration fatigue makes better decisions and produces more consistent power in the final hour.
Too low and you risk rim damage, tyre squirm in corners, and a sluggish feel. Too high and you bounce over every imperfection, losing speed and comfort. The sweet spot depends on your weight, your tyres, and what you're riding on.
Your tyre setup: tubeless, TPU, butyl, and latex
The tube system you choose changes how low you can safely run your tyre pressure, how much you'll pay, and what happens when something goes wrong fifty kilometres from home.
Tubeless
Tubeless tyres seal directly to the rim without an inner tube. Liquid sealant plugs small punctures automatically. The key advantage for pressure: without a tube to pinch between the tyre and rim on a sharp impact, pinch flats are effectively eliminated. That lets you safely target lower pressures for better grip and comfort — how much lower depends on the tyre width and discipline, but the freedom to explore without risking a pinch flat is the real advantage.
Tubeless is standard on mountain bikes and increasingly common on gravel. Road tubeless is growing but adoption is slower, partly because setup can be fiddly and both rim and tyre must be tubeless-compatible.
The weight trade-off is real. Tubeless-ready tyre casings are heavier than their tubed equivalents — the casing itself must be airtight — and sealant adds 30–60 ml per wheel. The total system weight (heavier casing plus sealant, minus the removed tube) can be more than a lightweight tubed setup.
Roadside repair: Sealant handles small punctures automatically, often without you noticing. Larger cuts need a tubeless plug kit — pocket-sized, takes seconds. A catastrophic sidewall tear means fitting an emergency tube, so most tubeless riders carry one anyway.
TPU inner tubes
TPU (thermoplastic polyurethane) tubes are arguably the most significant tyre development in recent years. At 30–40 grams versus 90–110 grams for butyl, they're dramatically lighter. They also produce less hysteresis than butyl rubber, which translates to measurably lower rolling resistance at any given pressure.
A fact that surprises many riders: a lightweight non-tubeless tyre with a TPU tube often weighs less than a tubeless setup. Once you account for the heavier tubeless-ready casing and 30–60 grams of sealant, a tubed TPU setup can undercut tubeless by 20–50 grams per wheel — while matching or beating it on rolling resistance.
TPU doesn't change your pressure targets. Without the pinch-flat protection of tubeless, you run the same pressures as butyl. The advantage is pure speed and weight at whatever pressure you already run. The trade-off is cost: $25–40 AUD per tube, roughly three to four times the price of butyl.
Roadside repair: TPU requires a TPU-specific patch kit. Standard butyl patches won't bond reliably to thermoplastic polyurethane. Carry the right kit or a spare tube.
Butyl inner tubes
Standard butyl rubber tubes are the baseline. Cheap, tough, easy to patch with a universal repair kit, and they hold air well — top up once a week and you're fine. Rolling resistance is slightly higher than TPU or tubeless, but the difference is modest at road pressures and irrelevant for most recreational riders.
If you value simplicity and low cost over marginal gains, butyl is the right choice. For commuting and everyday riding, there's no compelling reason to switch.
Roadside repair: The simplest option. A standard patch kit costs a few dollars, works reliably, and every bike shop on earth stocks spares.
Latex inner tubes
Latex tubes sit between butyl and TPU in performance. More supple than butyl, which reduces rolling resistance and gives a noticeably smoother ride feel. But latex is porous — expect to lose 5–15 psi overnight, meaning you pump before every single ride. Puncture resistance is also lower than butyl.
Latex was the performance choice before TPU arrived. It still has advocates for the ride quality, but TPU has largely taken over the fast-tube market by offering comparable speed benefits without the daily pumping ritual.
Roadside repair: Standard patches work. The downside is the higher puncture rate means you'll use them more often.
Which setup should you choose?
| Setup | Best for | Pressure effect | System weight | Roadside repair |
|---|---|---|---|---|
| Tubeless | Gravel, MTB, road riders wanting lower pressures | Run lower safely (no pinch flats) | Heavier (casing + sealant) | Sealant + plug kit |
| TPU | Road riders wanting speed without tubeless hassle | Same as butyl, faster rolling | Lightest | TPU-specific patches |
| Butyl | Commuting, recreational, simplicity | Baseline | Moderate | Standard patch kit |
| Latex | Riders who prioritise ride feel | ~2% lower | Moderate | Standard patches |
Try our tyre pressure calculator with different setups to see exactly how each one affects your recommended pressure.
Wheel size: 700c vs 650b, 29" vs 27.5"
Wheel diameter affects tyre volume, which affects optimal pressure. A larger wheel — 700c or 29" — creates more air volume for the same tyre width compared to a smaller wheel (650b or 27.5"). More volume means slightly lower pressure is appropriate, typically 2–3 psi.
A point that catches many riders out: 700c and 29" are physically identical wheels — both use a 622 mm bead seat diameter. So are 650b and 27.5" (584 mm BSD). The names differ by convention (road/gravel use the metric labels, mountain biking uses inches) but the wheels are often interchangeable.
Road and gravel: Most road bikes run 700c. Gravel bikes split between 700c with narrower tyres for speed, and 650b with wider tyres for grip and comfort on rougher terrain.
Mountain bikes: 29" wheels dominate cross-country, trail, and enduro. 27.5" persists for some trail, enduro, and downhill builds, particularly in smaller frame sizes. Same-width tyres on 27.5" need slightly higher pressure to compensate for the reduced volume.
Front and rear: why they should be different
Your weight isn't distributed equally between two wheels. On a road bike, roughly 46% sits over the front wheel and 54% over the rear. On a mountain bike the rear bias is even greater, particularly on steep descents where you shift your weight back.
Running the same pressure in both tyres is one of the most common mistakes. It costs you steering grip at the front — where lower pressure helps the tyre conform through corners — while potentially under-supporting the rear, which carries more load.
Real numbers from our calculator: a 75 kg rider on 28 mm road tyres on mixed surfaces would run roughly 73 psi front and 78 psi rear. On a trail mountain bike with 2.4" tyres: 22 psi front, 24 psi rear. The calculator gives you both numbers based on your specific weight, bike, and riding position.
Five myths that still persist
"Higher pressure means faster." On a velodrome, marginally. On any real road surface, no. Suspension loss from bouncing dominates the equation once you leave perfectly smooth pavement. Most riders would be measurably faster at 10–15% less pressure than they currently run.
"The number on the sidewall is the recommended pressure." That number is the maximum rated pressure — a safety ceiling, not a target. Your optimal riding pressure is well below it. If you're on hookless rims, the maximum is typically 72 psi (5 bar) regardless of what the tyre says.
"Same pressure front and rear." Your rear wheel carries more weight and needs more support. Your front wheel benefits from lower pressure for better cornering grip and comfort. The difference is typically 2–6 psi depending on your setup and riding position.
"I'm too heavy for low pressures." Heavier riders do need more pressure, but the relationship is proportional. A 95 kg rider on 28 mm tyres would run roughly 86 front and 92 rear — well below the sidewall maximum, and lower than many lighter riders assume they'd need. Use a calculator rather than guessing.
"Tubeless is only for mountain bikes." Road and gravel tubeless is well established and growing. The sealant plugs small punctures automatically, and eliminating pinch flats lets you safely run the lower pressures that make you faster and more comfortable. Setup has a learning curve, but once dialled in, most riders don't go back.
How to find your optimal pressure
-
Start with a calculated number. Use our tyre pressure calculator with your actual weight, tyre width, wheel size, and riding surface. This gives you a research-backed starting point — not a guess, not the sidewall number, not what your mate runs.
-
Check your equipment limits. Before inflating, verify the maximum pressure on your tyre sidewall and any rim-specific limits. Hookless rims have strict ceilings, typically 72 psi / 5 bar. Never exceed the lower of the two limits.
-
Ride and adjust. Start at the calculated pressure on your normal route. If it feels harsh and chattery over rough patches, drop 3–5 psi. If the steering feels vague or the tyre squirms in corners, add 3–5 psi. You'll usually converge within two or three rides.
-
Use a real gauge. Floor pump gauges are notoriously inaccurate, often off by 5–10 psi. A standalone digital gauge costs under $30 and removes the guesswork. Check pressure before every ride: butyl and TPU tubes typically lose 1–3 psi per day, tubeless holds well when the sealant is fresh, and latex loses significantly more — hence the pump-before-every-ride advice.
-
Write it down. Once you've dialled in a pressure, record it. Conditions change — wet roads, cold mornings, different surfaces — and having a known baseline to adjust from beats starting from scratch each time.
Your pressure, calculated
Tyre pressure is one of the few areas in cycling where the right answer is genuinely computable. The research is clear, the physics is well understood, and the variables — your weight, your tyres, your surface — are knowable.
Our tyre pressure calculator is free, covers road, gravel, and mountain biking, and gives you front and rear pressures in under a second. No account required.
Now that your bike is dialled in, the next question is how to train on it. If you're deciding between polarised, pyramidal, or sweet spot training, or want to see what personalised coaching looks like — periodised plans, power analysis, recovery timing — that's what Veloi does.